
This is my first post and I will share how to dual boot Windows 7(pre-install) and Windows XP. And I have do this on my netbook, because netbook do not have CD/DVD rom, so I will use USB drive.
This is the list what we need…
1.) 1GB or larger USB drive.
2.) PC with Windows 7 already installed
3.) WinSetupFromUSB Software. Download here.
4.) Windows 7 installation disc or Recovery Disc iso (download here/here).
**You can burn to USB drive (tutorial here)
5.) Windows XP installation disc. If you don’t have download torrent here, then download it using utorrent.
6.) EasyBCD software. Download here.
If you have all of these then you can start.
Create a new folder with the name WINXPCD in the root directory of drive C:\and copy all files from your Windows XP Setup CD or extract the iso file you download into this folder.
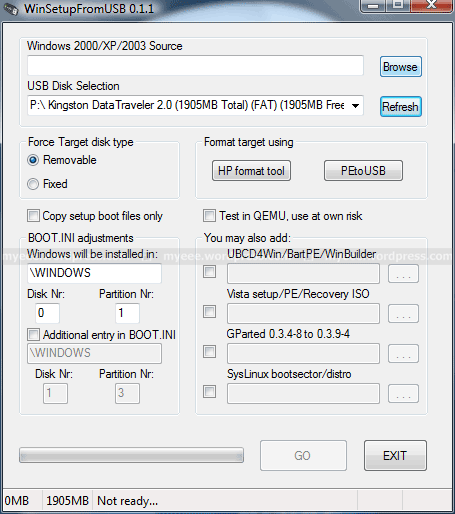
1. Start WinSetupFromUSB
Install WinSetupFromUSB in Windows 7. Connect the USB Flash Drive to your PC and start WinSetupFromUSB. It should show up under USB Disk Selection :
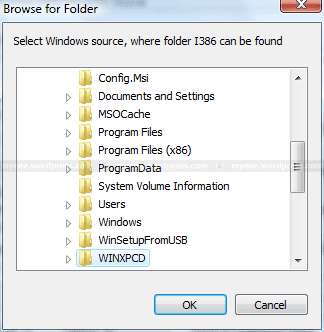
2. Select your Source Path
If youClick on Browse under Windows 2000/XP/2003 Source and navigate to the folder with your Windows XP Source Files. It should be C:\WINXPCD:
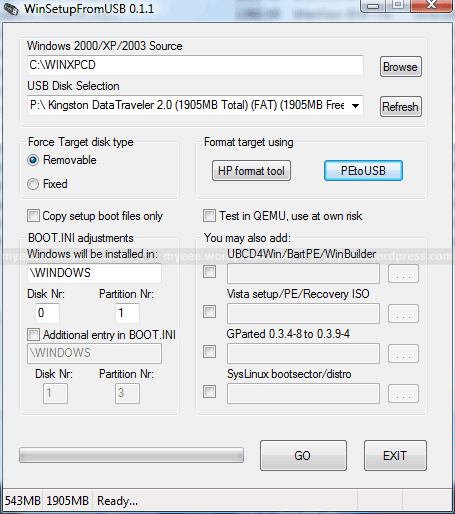
Click OK and C:\WINXPCD should show up under Windows 2000/XP/2003 Source :
3. Format USB Flash Drive
PeToUSB or HP Format Tool are used to format the USB Flash Drive. There is no need to download these programs seperately as they are already included in WinSetupFromUSB.
USB Flash Drives up to 2GB should be formatted with PeToUSB in FAT16, USB Flash Drives with 4GB or more with HP Format Tool in FAT32.
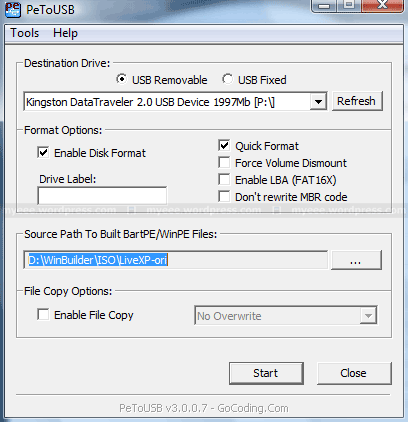
I will use PeToUSB to format my Kingston Data Traveler with 2GB.
In the main window of WinSetupFromUSB click PeToUSB under Format target using to start the program. The USB Flash Drive should show up underDestination Drive. Check USB Removable, Enable Disk Format and Quick Format. The latest version PeToUSB can format USB to NTFS. Make sure you format to NTFS for faster installation process. Uncheck Enable File Copy under File Copy Options :
Click Start and answer the following two questions “Continue?” with Yes.
All existing volumes and data will be lost!
If everything goes well, the message “Operation Completed Successfully!” should appear. Click OK and close PeToUSB.
4. Copy Windows XP Source Files
To start the process of copying the Windows XP source files to the USB Flash Drive, click GO in the main window of WinSetupFromUSB. Depending on the write speed of your USB Flash drive it may take a while to copy all files.

At the end the following notice about the Windows installation process should be displayed:

Click OK and close WinSetupFromUSB with EXIT.
5. Windows Installation – Part 1
Connect the USB Flash Drive to your PC and turn on the computer. Press ESCat the boot screen and you will be able to select the USB Flash Drive as your boot device from the boot menu.
My Acer Aspire One is F2 to BIOS Setup and Toshiba is F12.
Other manufacturers may use other keys, e.g. F8 or F12.
After booting from USB Flash Drive, the following menu should be displayed:
- Windows XP/2000/2003 Setup – First and Second parts
Press Enter or wait 10 seconds to get to the next menu:
- First part of Windows XP Home Edition setup
- Second part of XP Home Edition setup+Start Windows for first time
First part of Windows XP Home Edition setup is already selected. Press Enteror wait 10 seconds to start the Text mode part of setup. During this part you can create, delete and format partitions and finally the setup files are copied to your hard disk. At the end the system will restart automatically.
7. Windows Installation – Part 2
After restart boot normally to HDD and do not boot into USB drive. Remember do not boot into USB drive. If not you will get error e.g hl.dll missing or corrupt, but do not pull out the USB drive.
After boot into HDD, continue the installation.
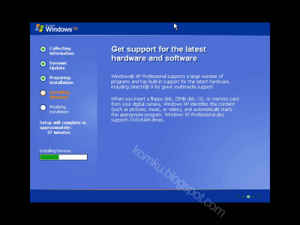
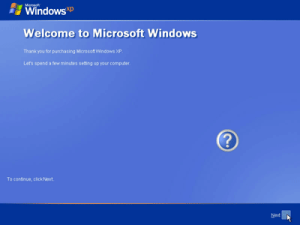
After the installation process finish and reboot, you will see this screen. Just follow instruction.
6. Recover Windows 7 Bootloader
If your windows 7 is missing, boot you Windows Installation Disc or Recovery Disc/USB.
- boot to the command prompt at startup.
- Type in these comands below, and press enter after each one.
- bootrec /FixMbr
- bootrec /FixBoot
- bootrec /RebuildBcd
- Exit the command prompt and restart the computer.
- At this point, Windows 7 should boot up the same way before trying to install XP.
- Continue to step below and run EasyBCD from Windows 7 instead.
Run EasyBCD. On the left side of EasyBCD, click on the Add New Entry button. (See screenshot below)
A) In the top section under Operating Systems, click on the Windows tab. (See screenshot below)
B) To the right of Type, select Windows NT/2k/XP/2k3 from the drop down menu.
C) To the right of Name, you can leave the default Microsoft Windows XP as the name to be displayed in the Windows Boot Manager, or you can type whatever name you would like to have instead. (See screenshot below)
WARNING: Be sure to untick the Automatically detect correct drive box and choose the drive letter you install Windows XP
D) Click on the Add Entry button. (See screenshot below)

On the left side of EasyBCD, click on the Bootloader Setup button, select (dot) the Install the Windows Vista/7 bootloader to the MBR option, and click on the Write MBR button. (See screenshot below)

Close EasyBCD.
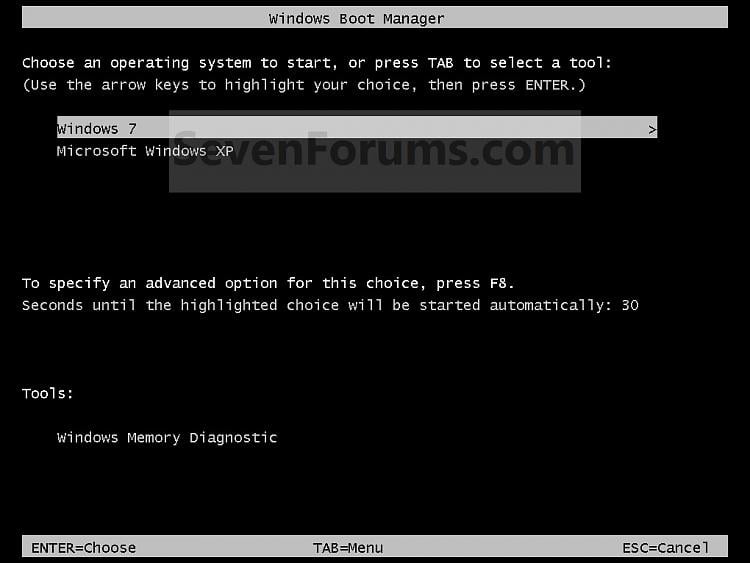
Restart the computer to have the option to boot from Microsoft Windows XP or Windows 7. (See screenshot below)
Tip
If Windows 7 will not start up when selected, then use your Windows 7 installation DVD to do a Startup Repair.
That’s it!
Please leave comment if I miss something or ask anything.
